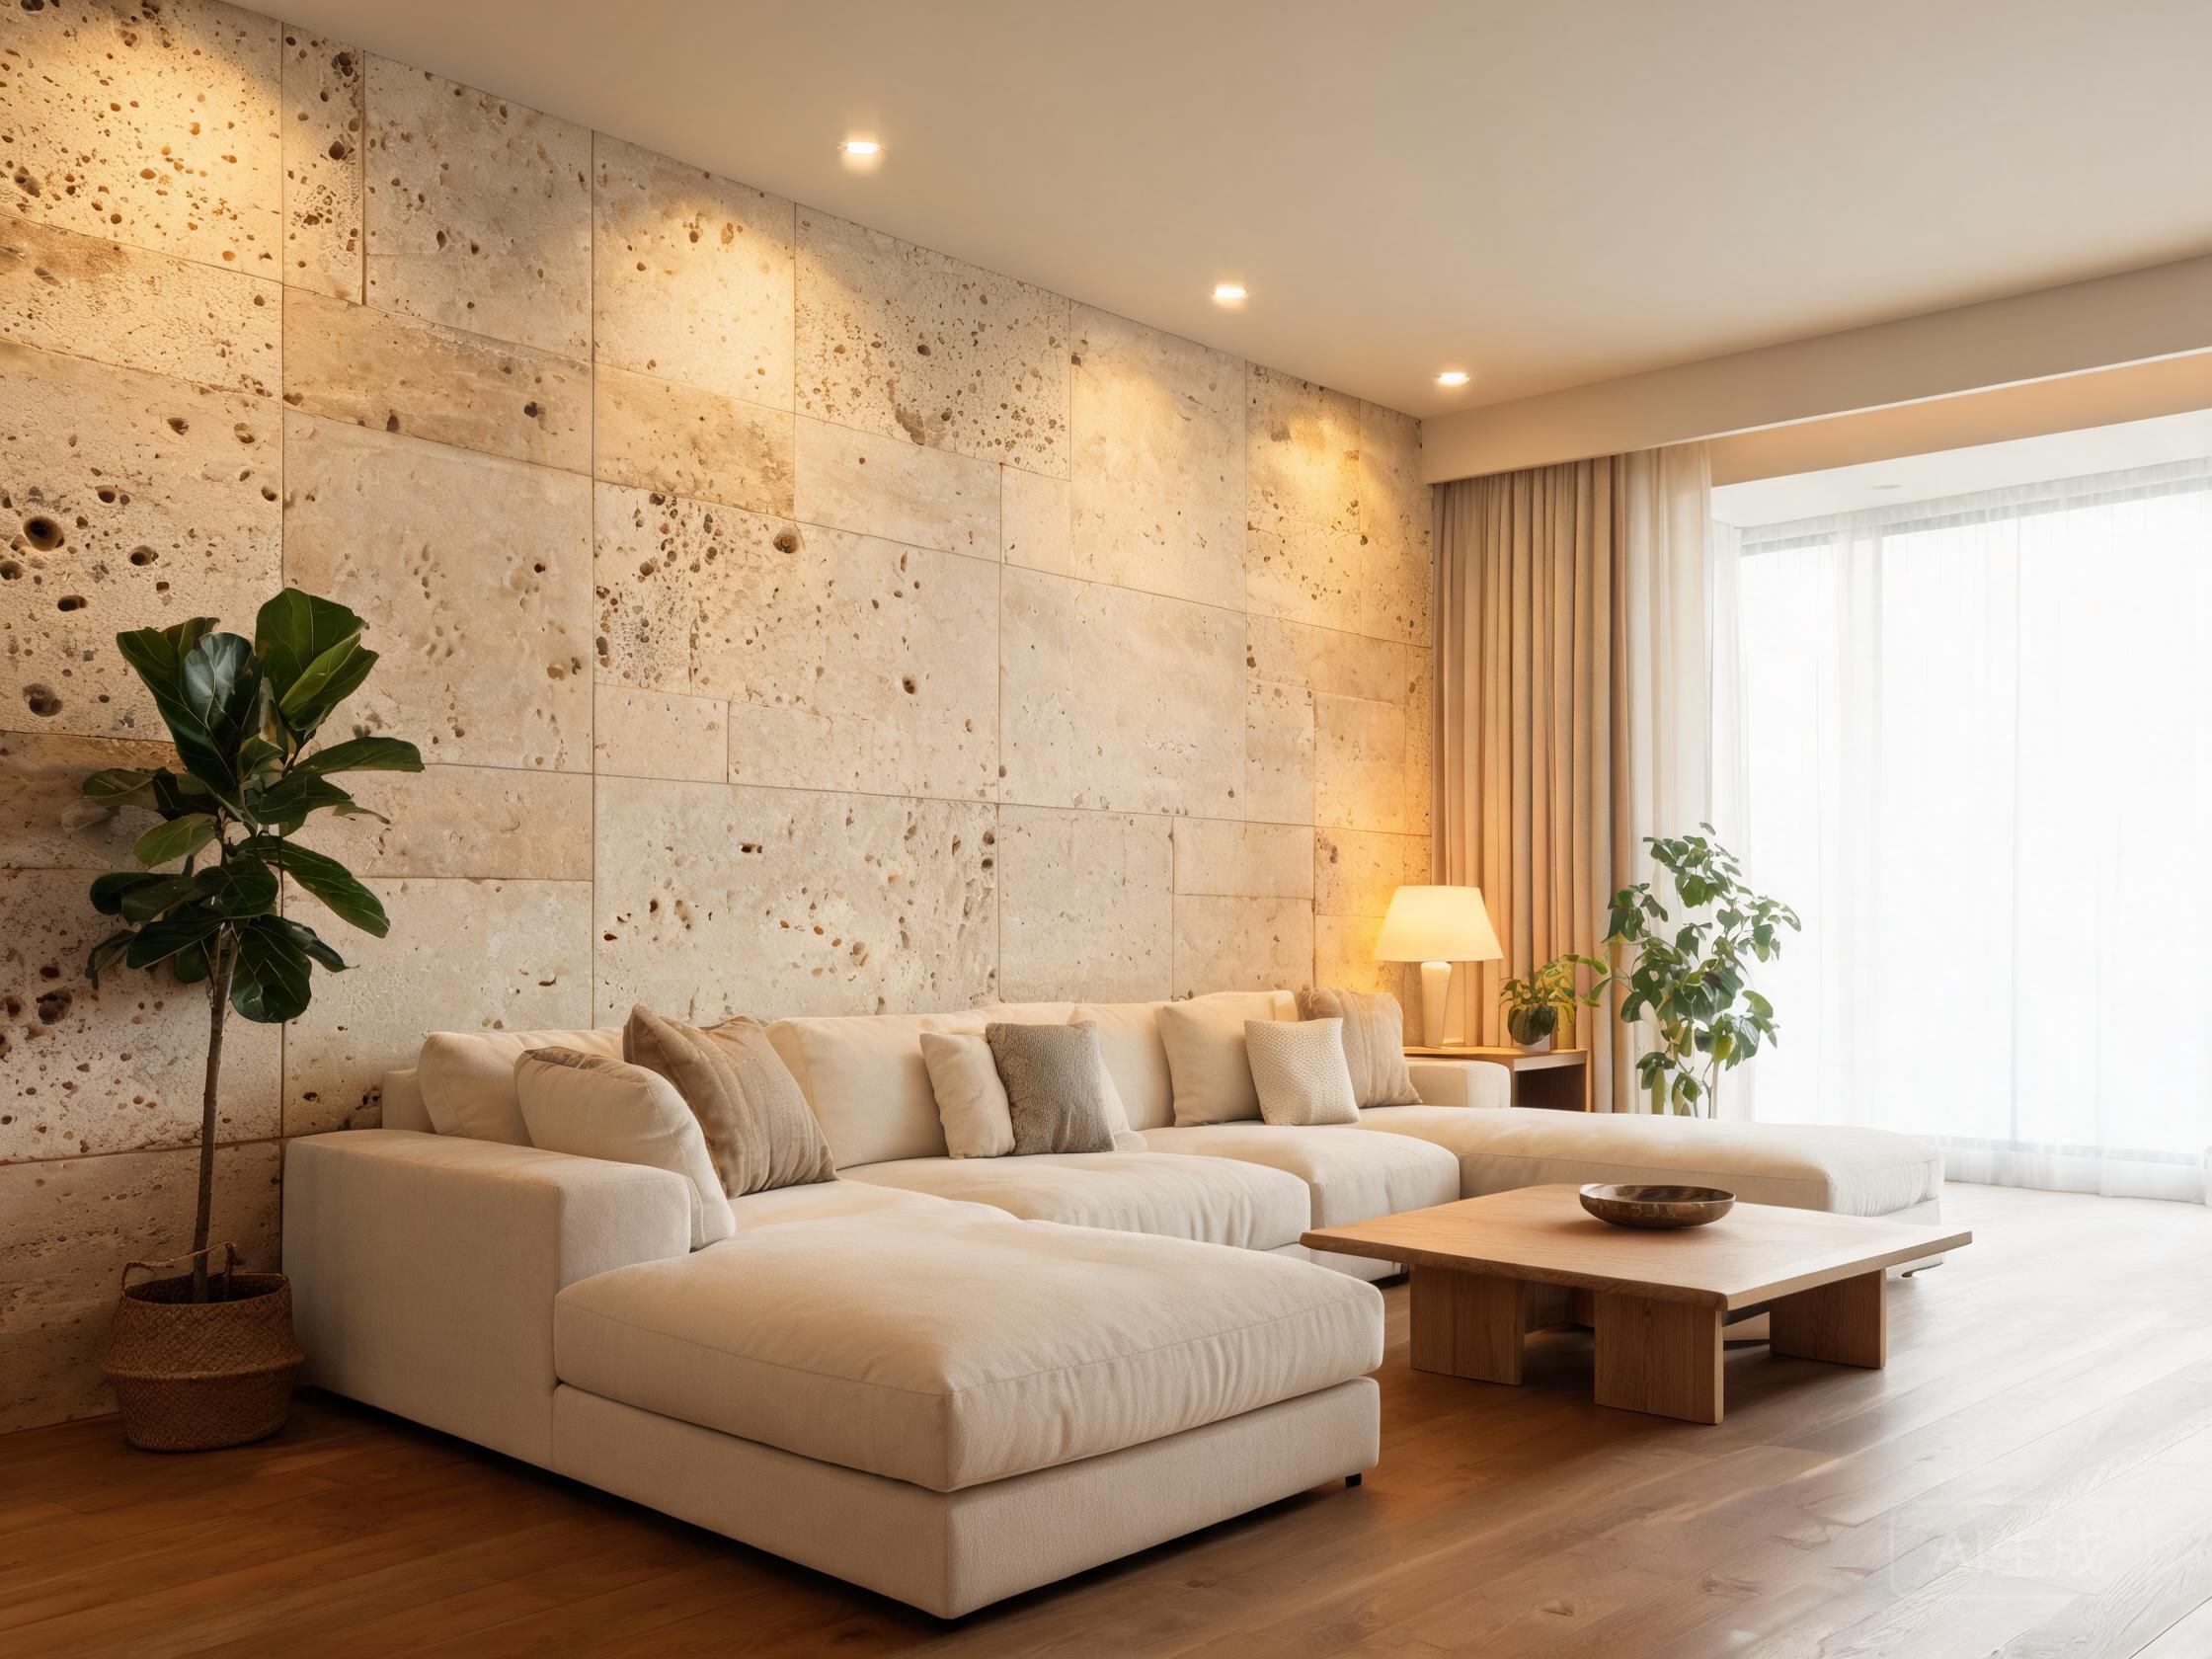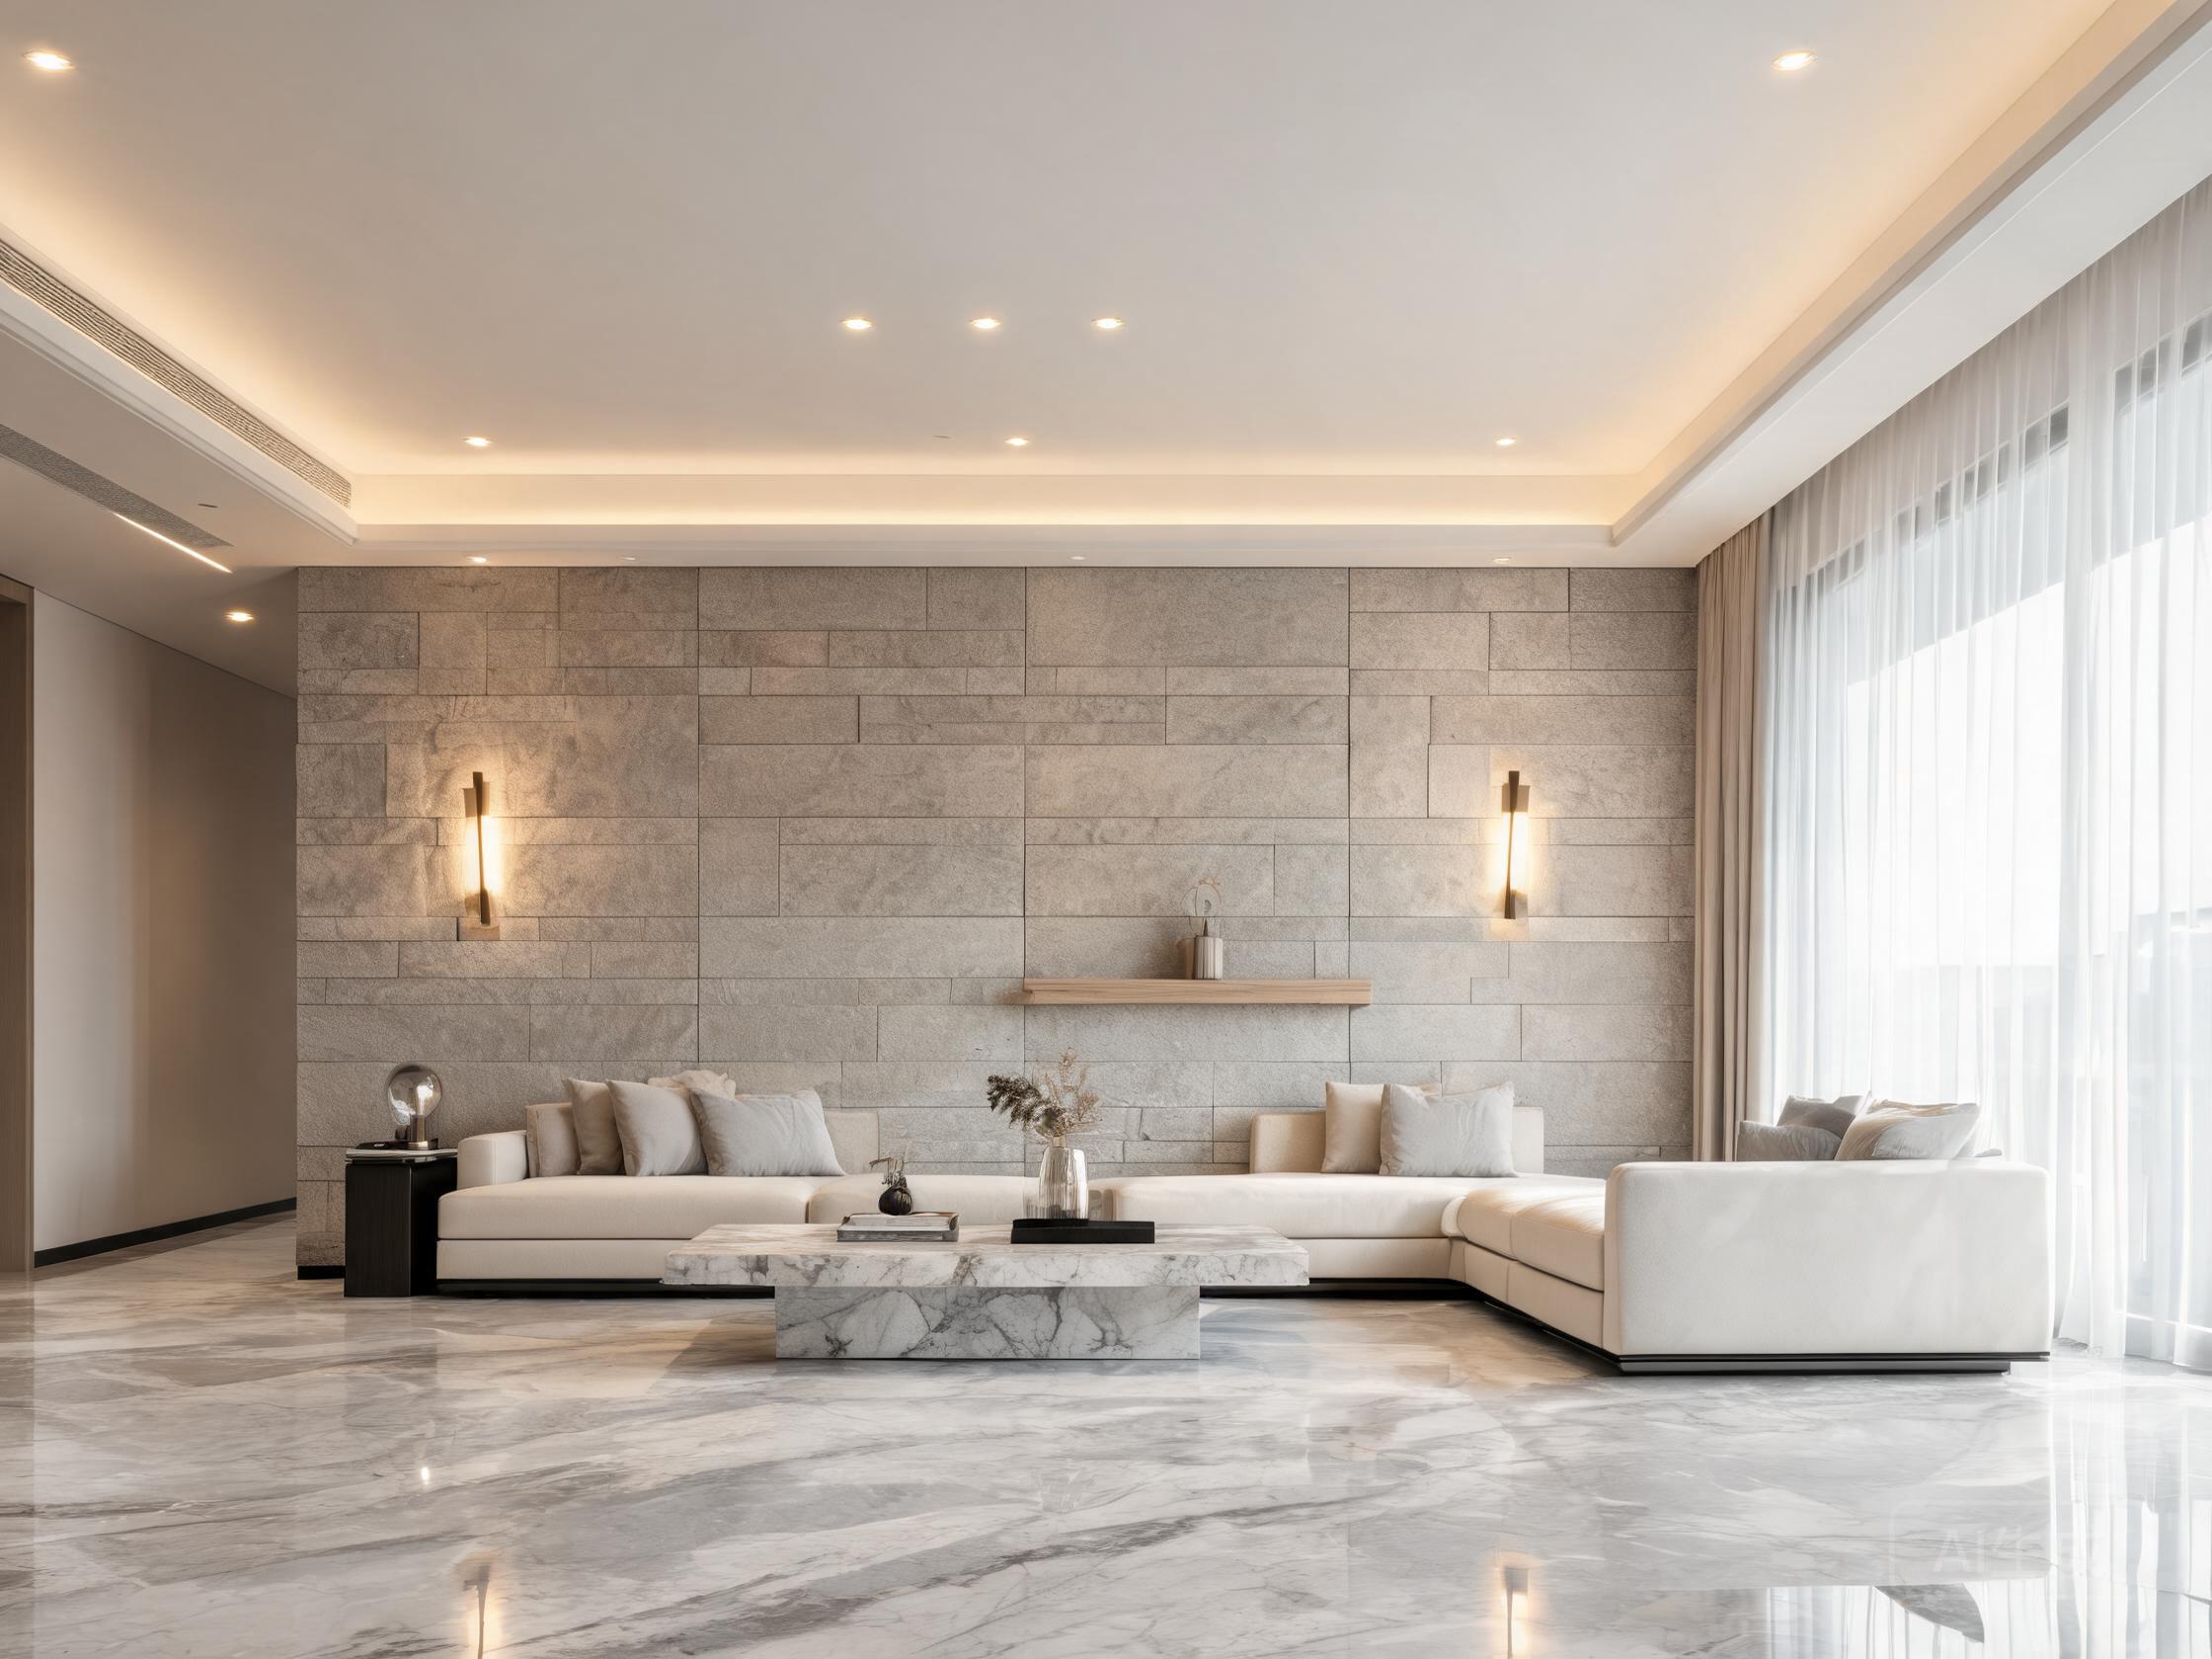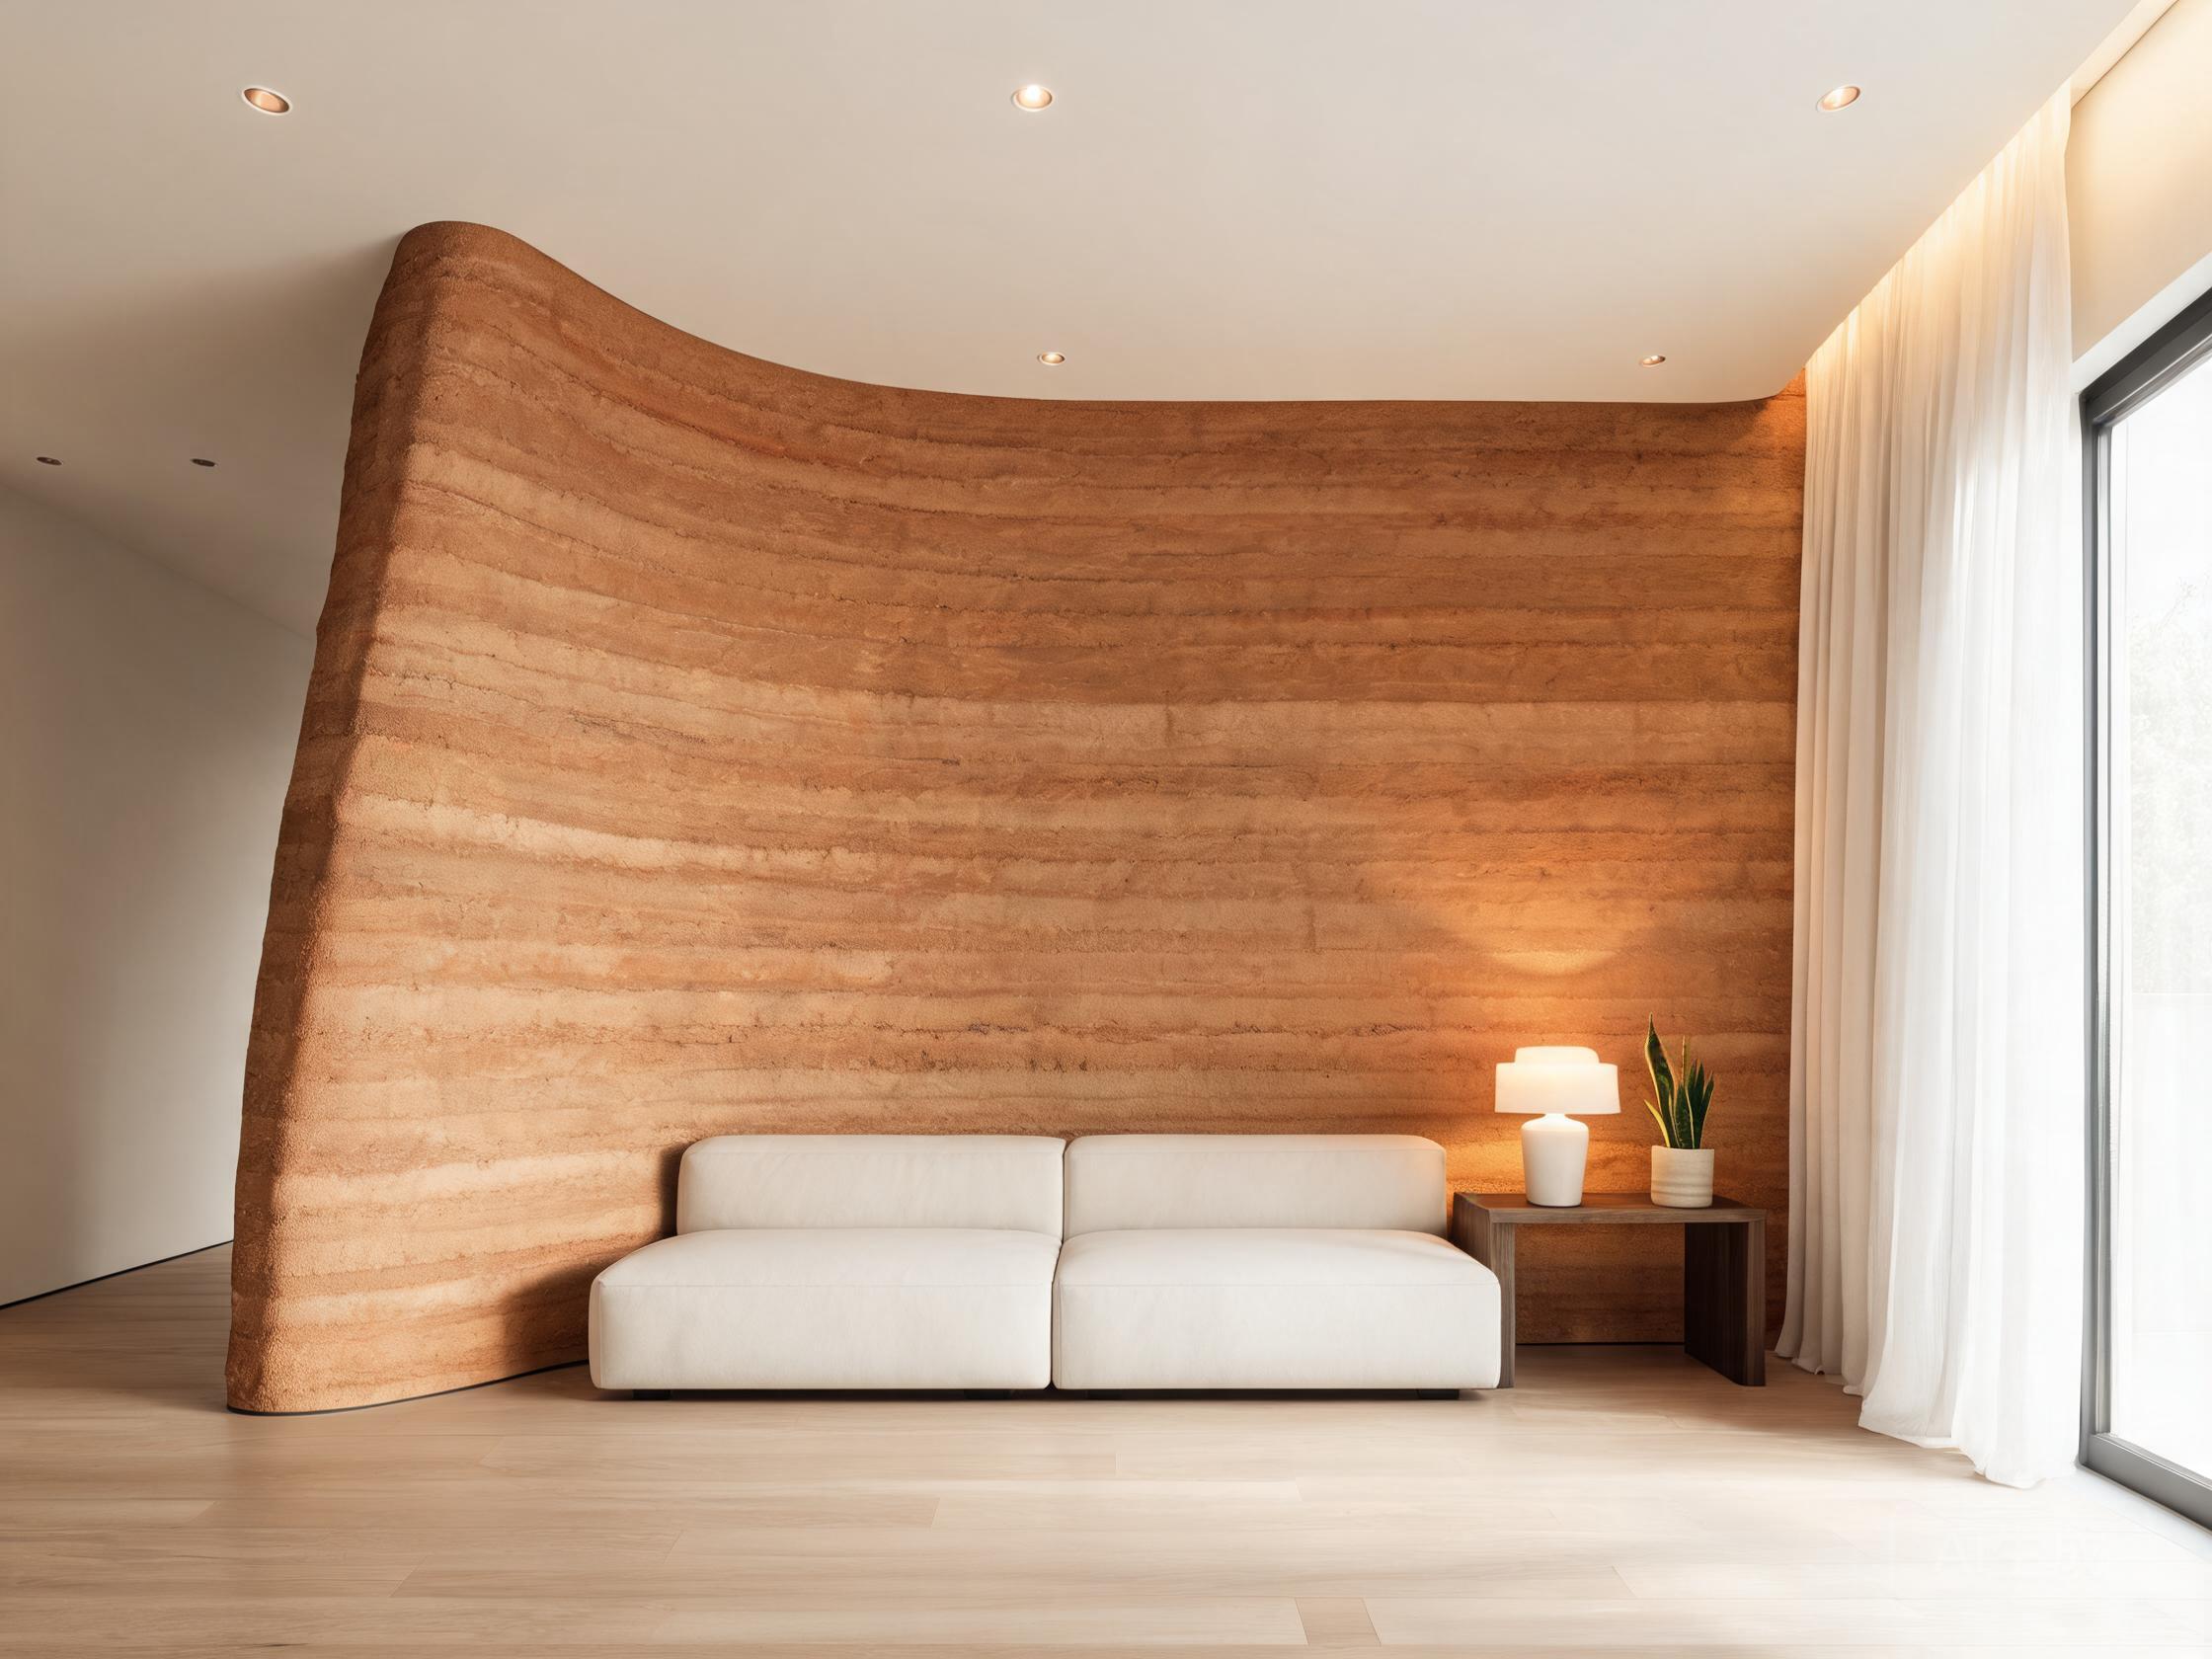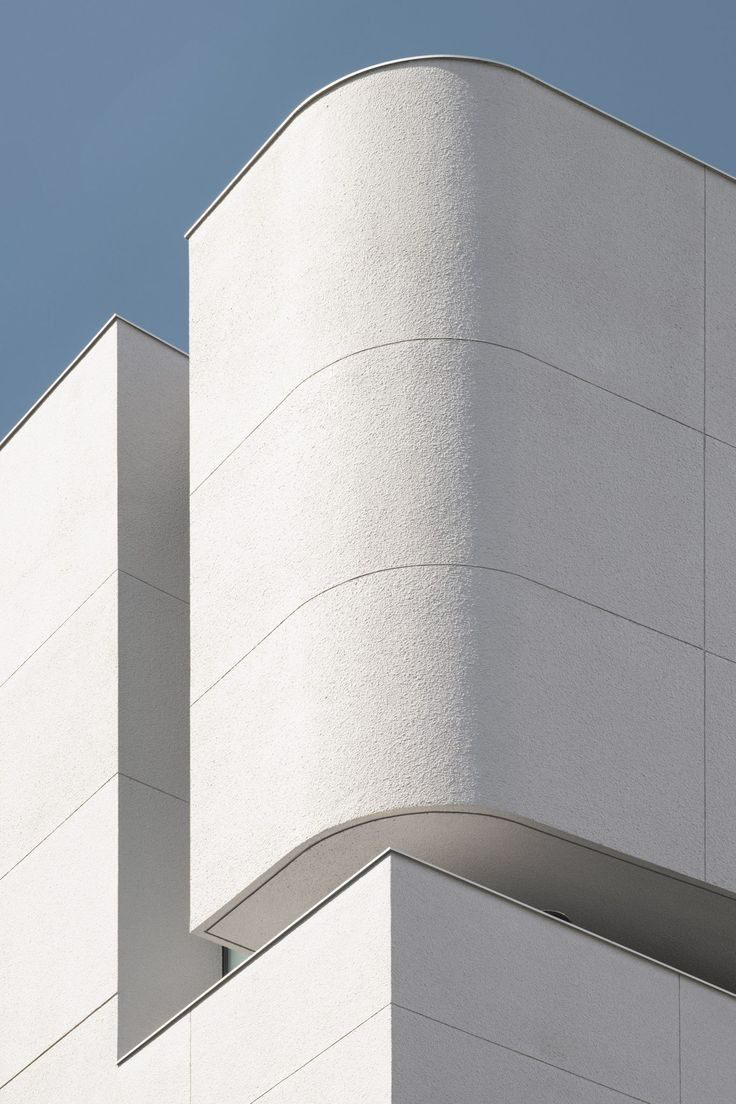
Flexible stone installs with the tools any tiling crew already owns: a trowel, a laser level, a utility knife and masking paper — no wet saw, no masonry crew. The manufacturer's workflow runs in eight steps from base leveling to an optional top coat, with two adhesive application methods (full troweling and dot application) and a dedicated corner treatment. Weight is only 3.5-6.8 kg/m² by series, which is why a two-person crew can cover large wall areas in a day.
Key Facts
- ◆The 8-step flow: base leveling → wall primer → layout lines → comb-trowel adhesive → press on wall → grout → clean → optional top coat.
- ◆Two adhesive methods: full troweling (flat surfaces) and dot application (small elements) — both end with pressing, grouting and joint cleaning.
- ◆Corners: cut the face without cutting through the backing mesh, fold, use the full-edge paving method, then sealant with masking tape.
- ◆Protective agent: mix 1:1 with water, spray horizontally then vertically, finish with a single-direction roller pass.
Tools and Auxiliary Materials
- Cutting machine and utility knife (score-and-snap on the mesh side)
- Laser level and layout lines for coursing
- Notched trowel for comb-pattern adhesive coverage
- Special tile adhesive / bonding mortar for flexible stone
- Brad nailer for temporary fixing where needed
- Masking paper for joint protection
- Leveling rule for plane control
- Tinting and repair kit for joint color correction
- Brush for detail work and finishing
The 8-Step Flow at a Glance
- 01 — Base leveling treatment
- 02 — Wall primer (solid painting agent)
- 03 — Layout: row marking and division lines
- 04 — Comb-trowel adhesive onto the panel back (full coverage)
- 05 — Press the panel onto the wall, trowel out air pockets
- 06 — Fill joints with tile grout
- 07 — Clean the wall surface
- 08 — Optional top finishing agent
Two Application Methods
Troweling method (flat, large fields): apply adhesive to the substrate and to the panel back with a notched trowel, press the panel home, then trowel vigorously to expel air and ensure full bonding — hollow spots are the failure mode to design out. On large elevations, compact the installed panels with a rubber roller. Check joints and flatness before the adhesive skins over, then clean residue with a damp sponge.
Dot application method (small elements and details): dab adhesive onto the panel back, press onto the wall, compact, dress the joints, tap lightly with a rubber mallet, clean the joints, then apply the protective agent and finish coat after cleaning.
Corner Treatment
Cut through the face of the sheet but not through the backing mesh, fold the panel around the corner, and apply adhesive to the folded back. The manufacturer recommends the full-edge paving method at corners for the cleanest result; after standard installation, seal the corner and mask with tape while the sealant cures, then tear the tape for the final line.
Protective Agent (Top Coat)
Prepare a soft roller, sprayer and measuring cup. Mix the protective agent 1:1 with water, spray one horizontal pass and one vertical pass, then finish with a single-direction roller pass. This step is optional per the manufacturer workflow but recommended on exterior and high-touch interior walls.
Transport and Site Storage
Panels ship in cartons with foam interleaving, sealed openings facing up. On site: unload with care, store dry and ventilated (indoors preferred), keep cartons on pallets at least 10 cm off the ground and stack no higher than 1 meter. Avoid rain and direct sun — if outdoor storage is unavoidable, protect the stack externally.
Common Questions
Does it need a primer? Yes — step 02 is the wall solid primer, which ties the substrate together before adhesive. Can one crew handle it? Yes — the material weighs 3.5-6.8 kg/m² by series, so handling is a two-person job, not a crane job. What about fire documentation for the spec? Flexible stone is classified A2-s1, d0 per EN 13501-1:2018 (Intertek report 260318008SHF-001) — both fire and hygiene-safety reports are downloadable on our specifications page.
Open specifications & test reports
See per-series thickness, weight and panel sizes — plus downloadable test reports
Open specifications & test reports